Using TrueNAS Scale (since v24.10)
TrueNAS Scale is an open-source, hyper-converged storage platform that combines the reliability of TrueNAS with the versatility of Linux, providing a unified solution for storage, virtualization, and containerization in a single, easy-to-manage system.
Since the release of TrueNAS Scale version 24.10 (Electric Eel), Docker is now used to run apps on TrueNAS Scale. With the use of Docker Compose, setting up a GameVault Server on TrueNAS Scale is quick and easy!
If you are using an older version of TrueNAS Scale, please use the legacy documentation: TrueNAS Scale - Legacy
Prerequisites
- a running TrueNAS Scale Server (version 24.10 or newer)
- an understanding of storage/users in TrueNAS Scale
- a docker-compose.yml file. See below for additional information.
Docker-Compose.yml - what do I need to do?
In current versions of TrueNAS Scale, you can create a custom app by providing a docker-compose.yml configuration. You do this entirely within TrueNAS Scale; No additional programs are needed. However, it can be beneficial to configure everything in a text editor first, and then copy/paste it into TrueNAS during the actual App creation process. This allows you to more easily make the necessary changes as well as save a copy of your config outside of TrueNAS. Once everything is prepared, you simply copy the config into TrueNAS Scale and it does the rest! This is explained later on in the documentation.
To start, open up a text editor - anything will do, but Notepad++ is an excellent choice as it maintains proper indentation/spacing.
Next, copy this example into your text editor. You will make changes to this later on.
services:
  gamevault-backend:
    image: phalcode/gamevault-backend:latest
    restart: unless-stopped
    environment:
      DB_HOST: db
      DB_USERNAME: gamevault
      DB_PASSWORD: YOURPASSWORDHERE
    volumes:
      # Mount the folder where your games are
      - /your/games/folder:/files
      # Mount the folder where GameVault should store its media
      - /your/media/folder:/media
    ports:
      - 8080:8080/tcp
  db:
    image: postgres:17
    restart: unless-stopped
    environment:
      POSTGRES_USER: gamevault
      POSTGRES_PASSWORD: YOURPASSWORDHERE
      POSTGRES_DB: gamevault
    volumes:
      # Mount the folder where your PostgreSQL database files should land
      - /your/database/folder:/var/lib/postgresql/data
You should also take a moment to read the Configuration page, as it contains additional options that can be configured if desired. This guide will cover only the options that are needed for a basic setup, but you may want to add more for your particular needs.
Step 1: Log in to your TrueNAS Scale Dashboard
Step 2: Configure User/Storage for GameVault
Configuring User
By default, GameVault will try to run as user ID 1000 and group ID 1000. However, this will not normally work in TrueNAS Scale. Instead, you will need to specify which user/group ID GameVault should use. You can create a new user, or use an existing one!
In your docker-compose.yml file, add the PUID and PGID variables to the gamevault-backend environment variables. For simplicity, we will use the "apps" user/group which is built-in to TrueNAS Scale and uses ID number 568 for both PUID and PGID.
PUID: 568
PGID: 568
An example of the finished config is available below under "Step 2a".
Configuring Storage
GameVault expects three directories:
- a directory where your games are located - mounted to the /files directory internally
- a directory for GameVault to store the database files - mounted to the /var/lib/postgresql/data directory internally
- a database for GameVault to store its media - mounted to the /media directory internally
These directories will need to be created before you can deploy GameVault on your TrueNAS Scale server. If you have not yet done so, create the needed directories before continuing, and ensure your chosen user has read/write access to all three of the directories.
For this example, the following directories have been made on TrueNAS Scale, and the "apps" user has read/write access:
- Games directory: /Tank1/Games
- database directory: /Tank1/GameVault/database
- media directory: /Tank1/GameVault/media
After these directories have been created, and you have ensured that your chosen TrueNAS user has read/write access to all three directories, you will need to update the docker-compose.yml file to specify these directories.
An example of the finished config is available below under "Step 2a"
Step 2a: Setting your GameVault Admin user
You can specify a username that will be given the Admin role upon registration in GameVault. Add the following variable to your docker-compose.yml file under the gamevault-backend environment variables. Set it to your desired GameVault username, and your account will be given the Admin role once you register!
SERVER_ADMIN_USERNAME: YourUsernameHere
Make sure to register your admin account using the same username!
When finished, your docker-compose.yml file should look something like this:
services:
  gamevault-backend:
    image: phalcode/gamevault-backend:latest
    restart: unless-stopped
    environment:
      PUID: 568 #568 is the built in "apps" user for TrueNAS Scale
      PGID: 568 #568 is the built in "apps" user for TrueNAS Scale
      SERVER_ADMIN_USERNAME: YourUsernameHere #You will need to register this user after everything is running.
      DB_HOST: db
      DB_USERNAME: gamevault
      DB_PASSWORD: YOURPASSWORDHERE #This is not your admin user's password - this is the database password
    volumes:
      # Mount the folder where your games are
      - /Tank1/Games:/files
      # Mount the folder where GameVault should store its media
      - /Tank1/GameVault/media:/media
    ports:
      - 8080:8080/tcp
  db:
    image: postgres:17
    restart: unless-stopped
    environment:
      POSTGRES_USER: gamevault
      POSTGRES_PASSWORD: YOURPASSWORDHERE #This is not your admin user's password - this is the database password
      POSTGRES_DB: gamevault
    volumes:
      # Mount the folder where your PostgreSQL database files should land
      - /Tank1/GameVault/database:/var/lib/postgresql/data
You should change the DB_PASSWORD and POSTGRES_PASSWORD variables to be an actual password instead of "YOURPASSWORDHERE".
You can set this to anything you want, but they both need to be the same password or it will not work.
You are now ready to deploy GameVault!
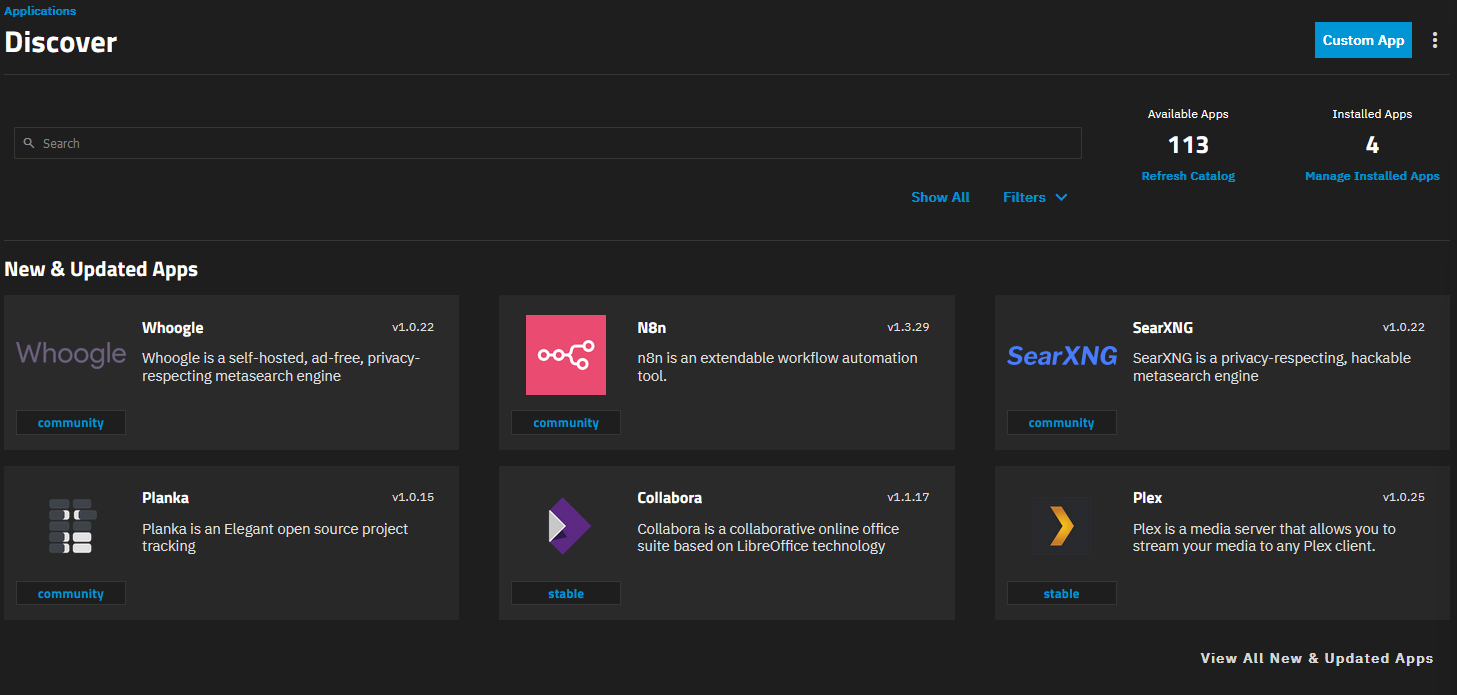
Step 3: Navigate to Apps and Discover Page
Go to apps -> discover
Step 4: Select "Install via YAML"
Click the three-dot icon next to the "Custom App" button:

Then, select the option to "Install via YAML":

In the pop-out window, enter the name of the custom app. For this example, we used "gamevault-backend"
Then, paste the entire contents of your docker-compose.yml file into the "Custom Config" section:
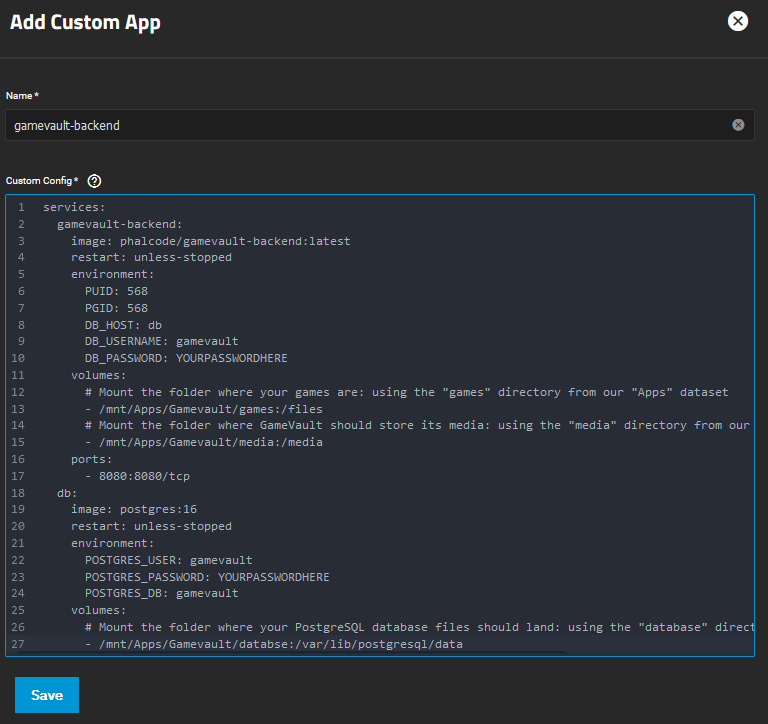
Make sure you have all your needed changes per the rest of the documentation, then click "Save".
The system will automatically do all the setup and return you to the main Apps pages when complete!
Conclusion
You have now successfully set up your GameVault Server using TrueNAS Scale!
You can access your server using the GameVault client. Use your server's IP address followed by the designated port.
Example: http://192.168.0.240:8080
Additional Info
Registering Your Admin User
Once you have the server running, you will need to download/install the GameVault client. It will walk you through the setup process.
Here are a few things to keep in mind during this setup process:
- The server URL should start with "http://" and end with the required port number "8080"
- Example:
http://192.168.0.240:8080 - Replace the "192.168.0.240" with your TrueNAS server's IP address.
- Example:
- If you are running other apps, be sure they are not also using port 8080 - this will cause a conflict.
- You can check this by looking at each of your running apps - used ports will show under the "Ports" section of the "Workloads" window.
- If there is a conflict, you will need to change the conflicting app, or GameVault, to use a different port.
- Be sure to register your admin user before you try to login. Use the same username you specified in the config file.
Stopping the Server
To stop the GameVault server, navigate to the main Apps page, and check the box next to your running instance of GameVault:
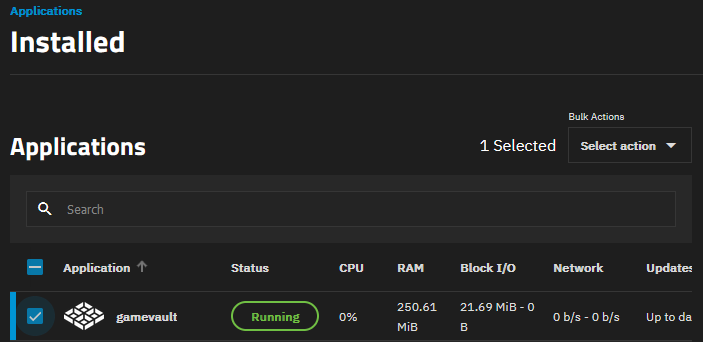
Then, click the drop-down menu for "Select action", and choose "Stop All Selected"

This will shut down GameVault and the database.
Reading the Logs
Navigate to "Apps" and choose the GameVault-backend App you have created.
Under the "Workloads" section, you will see two "Containers" running:

Click the "view logs" icon next to either the database container (db) or the GameVault container (gamevault-backend) to open the logs:

In the new window that opens, choose the number of previous log lines you would like to view (500 is normal), then click "Connect":
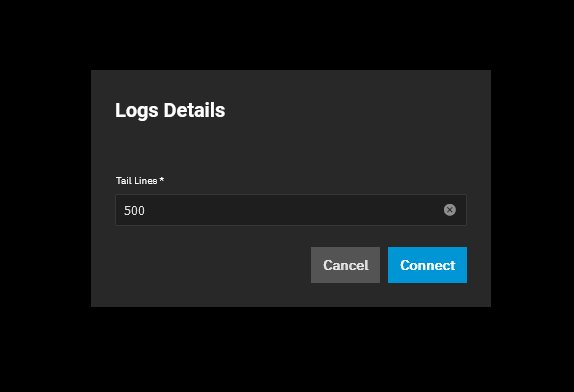
You will see the previous number of log lines up to the number you entered, and all new log entries will appear as they are written!
Troubleshooting
If you receive any errors while trying to save your GameVault configuration, be sure that all indents/spacing is correct YAML syntax. You can try a few things to ensure proper formatting:
- Use a text editor that maintains indents properly, such as Notepad++
- Copy the example docker-compose.yml file from above, paste it directly into the configuration window, and add your changes directly. This can help ensure consistent formatting.
- Ensure your server URL is correct and formatted properly. Example:
http://192.168.0.240:8080 - Join the Discord and submit a support request!