Using CapRover
CapRover is an open-source platform that simplifies the deployment and management of web applications through containerization, providing a user-friendly interface for developers.
Setting up a GameVault Server on CapRover is just a click away because we have created a CapRover One-Click-App Integration for this purpose. However, our app hasn't gained enough prominence to be included in the official One-Click-App Repository of CapRover. So, we decided to create our own third-party repository.
In this guide, you will learn how to connect to our third-party repository and install GameVault on your CapRover Instance.
Prerequisites
- A running CapRover Server
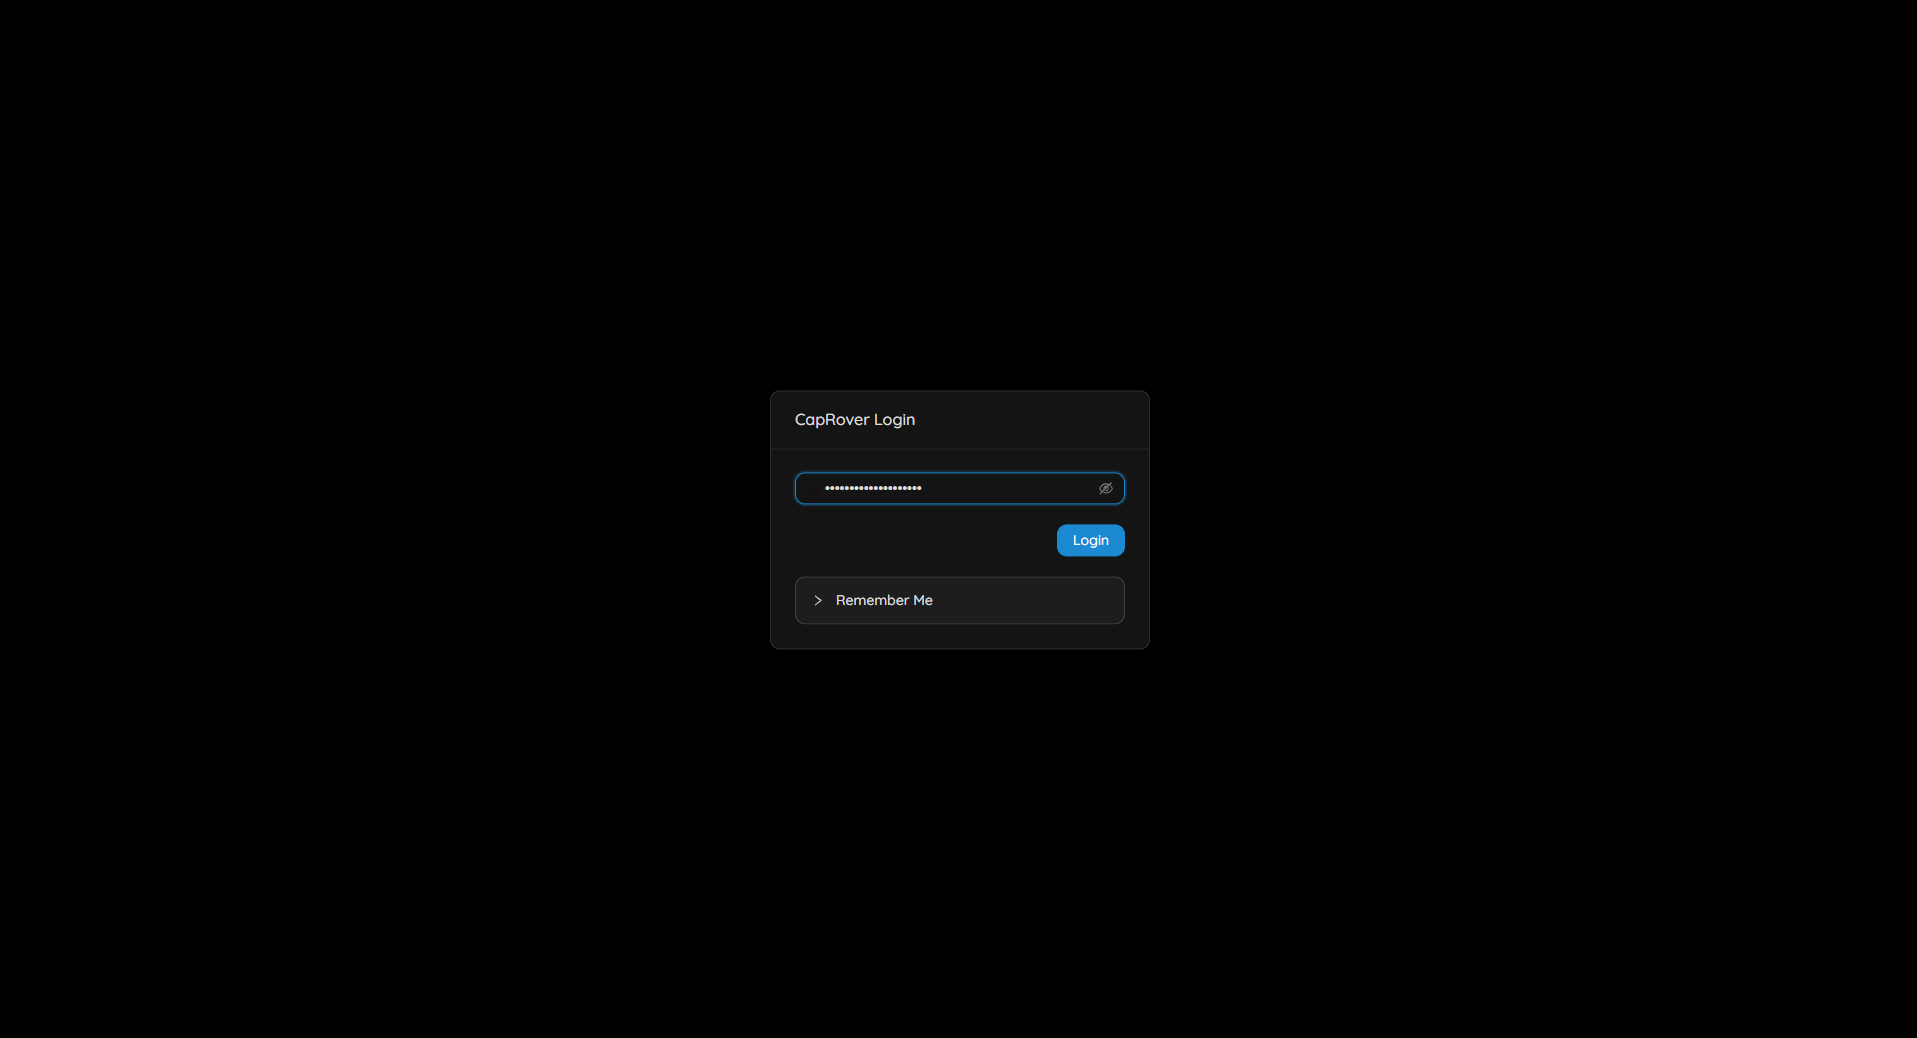
Step 1: Log in to your CapRover Dashboard
Log in to your CapRover dashboard.
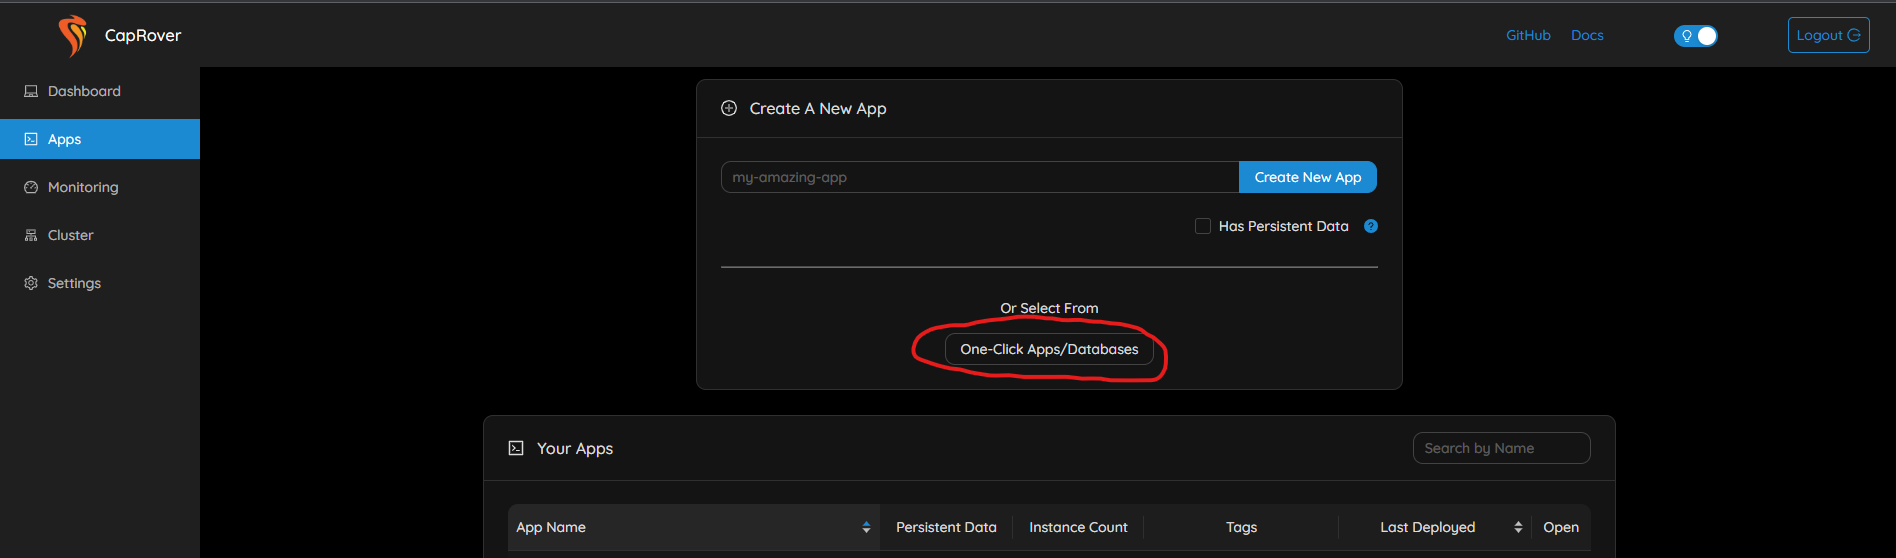
Step 2: Navigate to the One-Click-Apps/Databases
Go to "Apps" and click on "One-Click Apps/Databases."
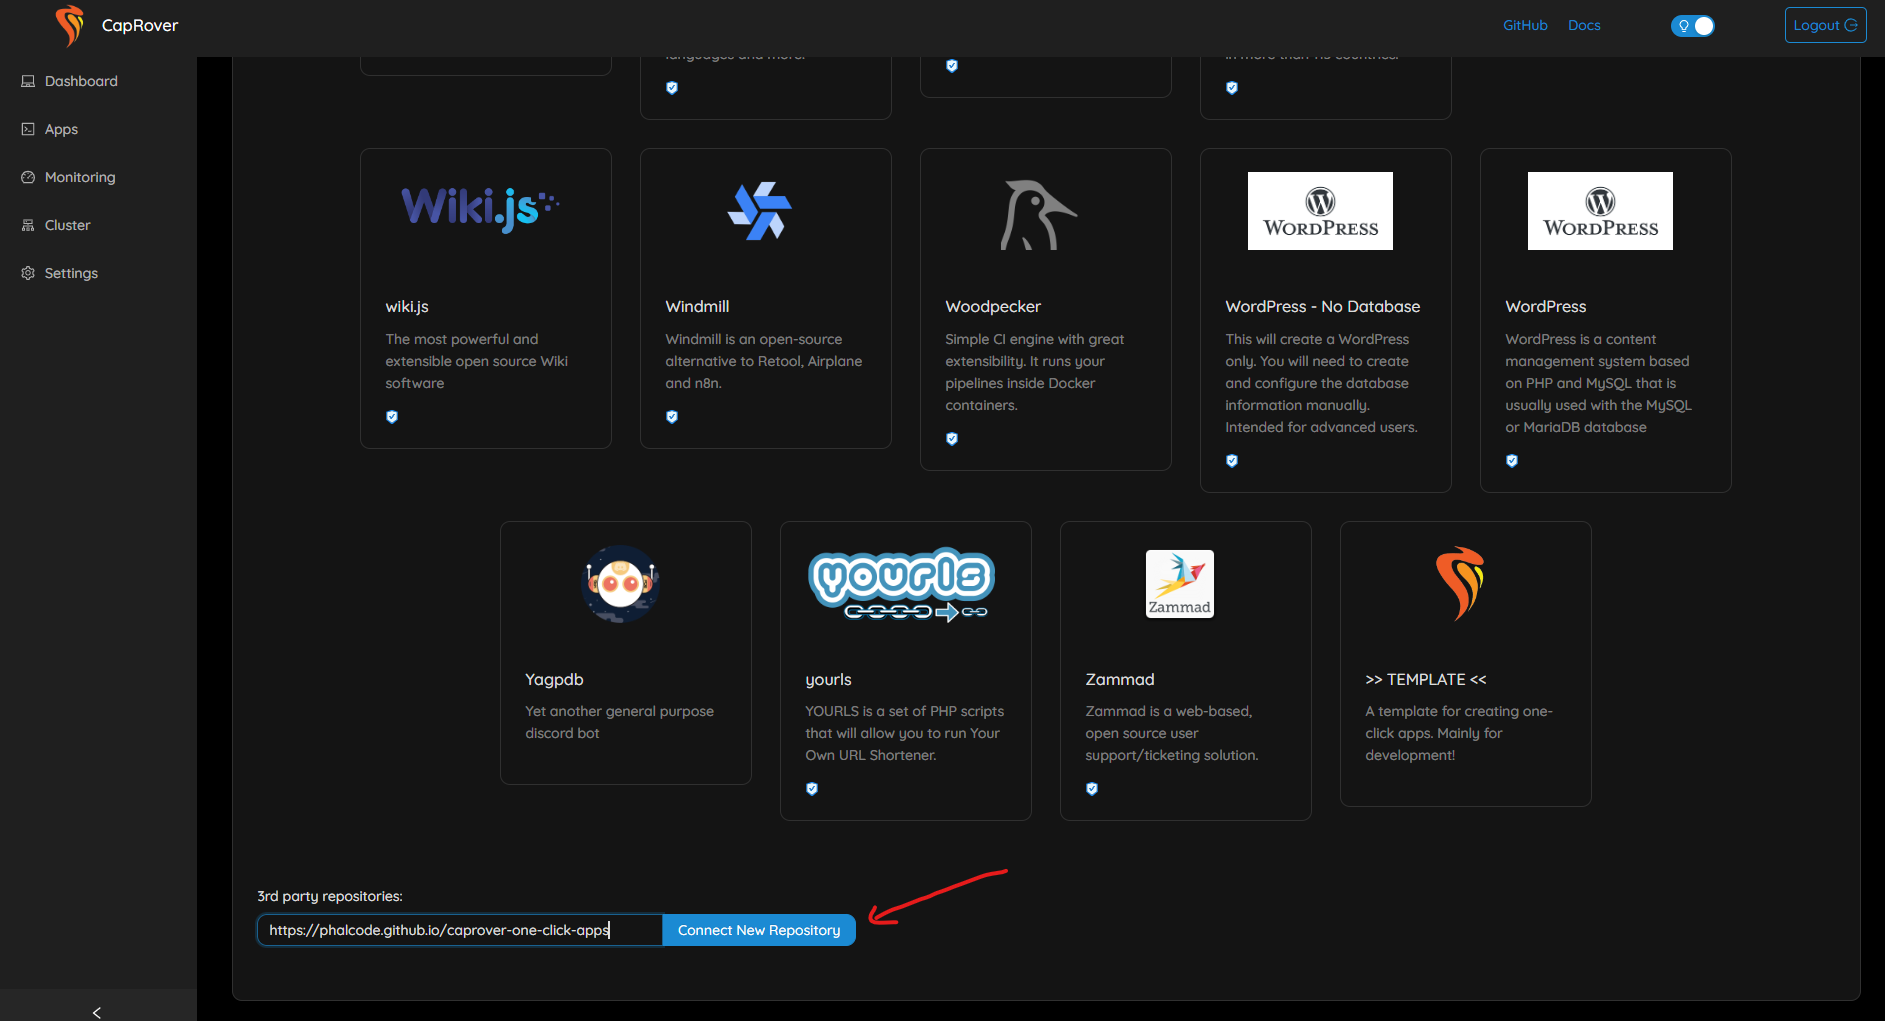
Step 3: Connect Phalcode's third-party repository
Scroll down to the bottom. Under "3rd party repositories," copy and paste the following link: https://phalcode.github.io/caprover-one-click-apps. Click the "Connect New Repository" button.
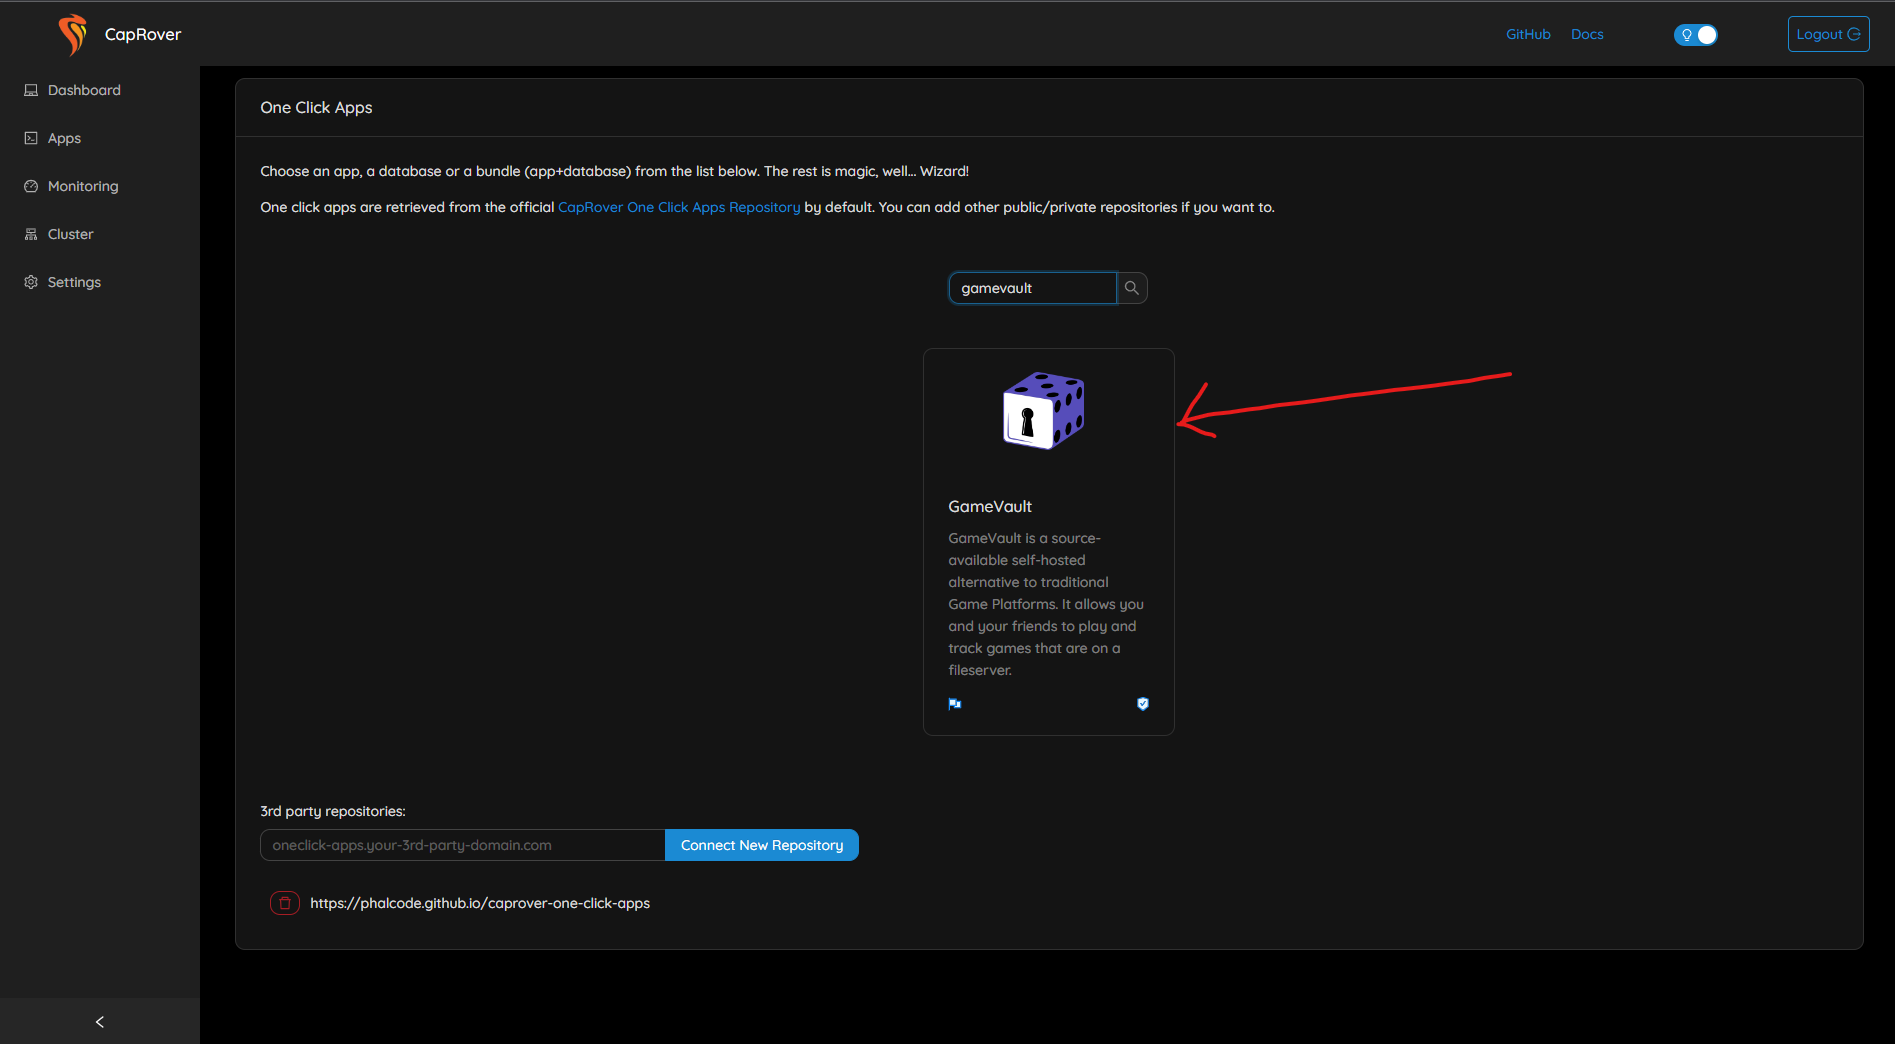
Step 4: Install our GameVault One-Click-App
Now, all you need to do is search for 'GameVault' using the search box and follow the installation wizard.
If you can't find GameVault in the list, try reloading the page and search again.
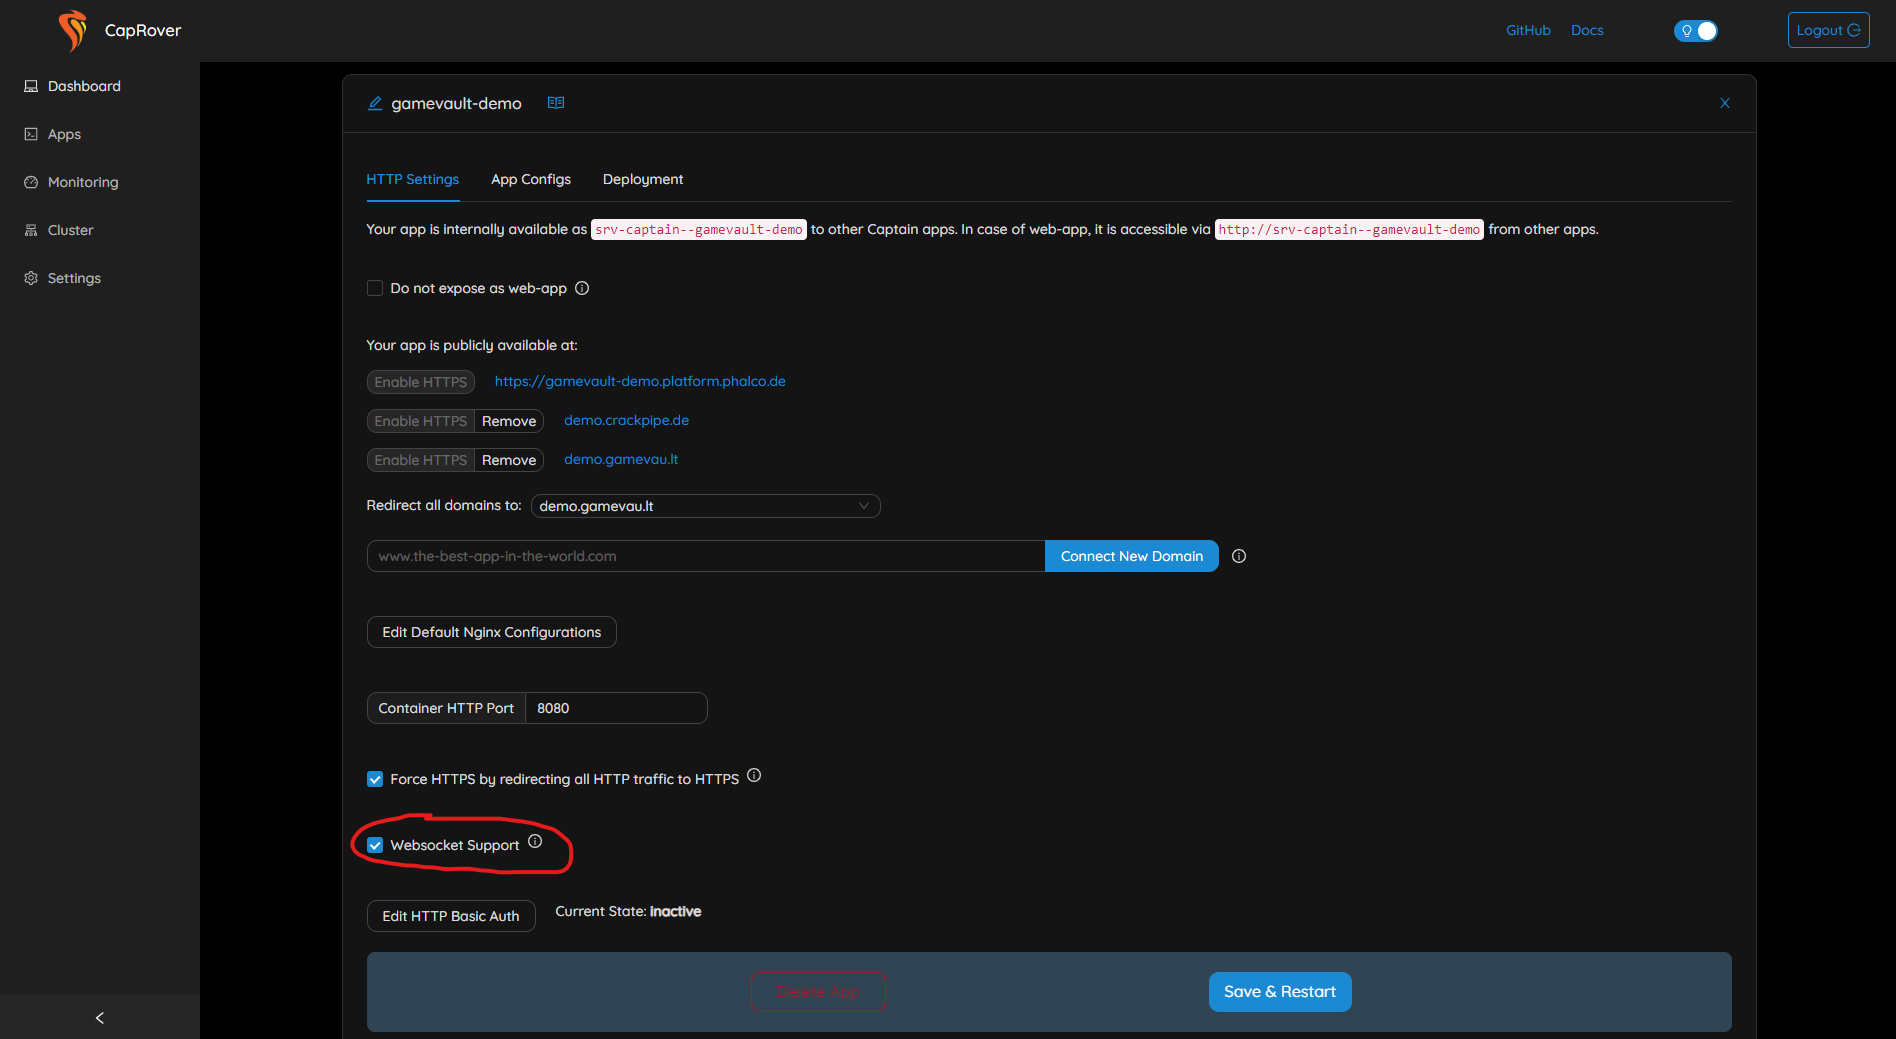
Step 5: Enable WebSocket Support
Go to "Apps" and click on the GameVault App you just created. Make sure WebSocket Support is enabled.
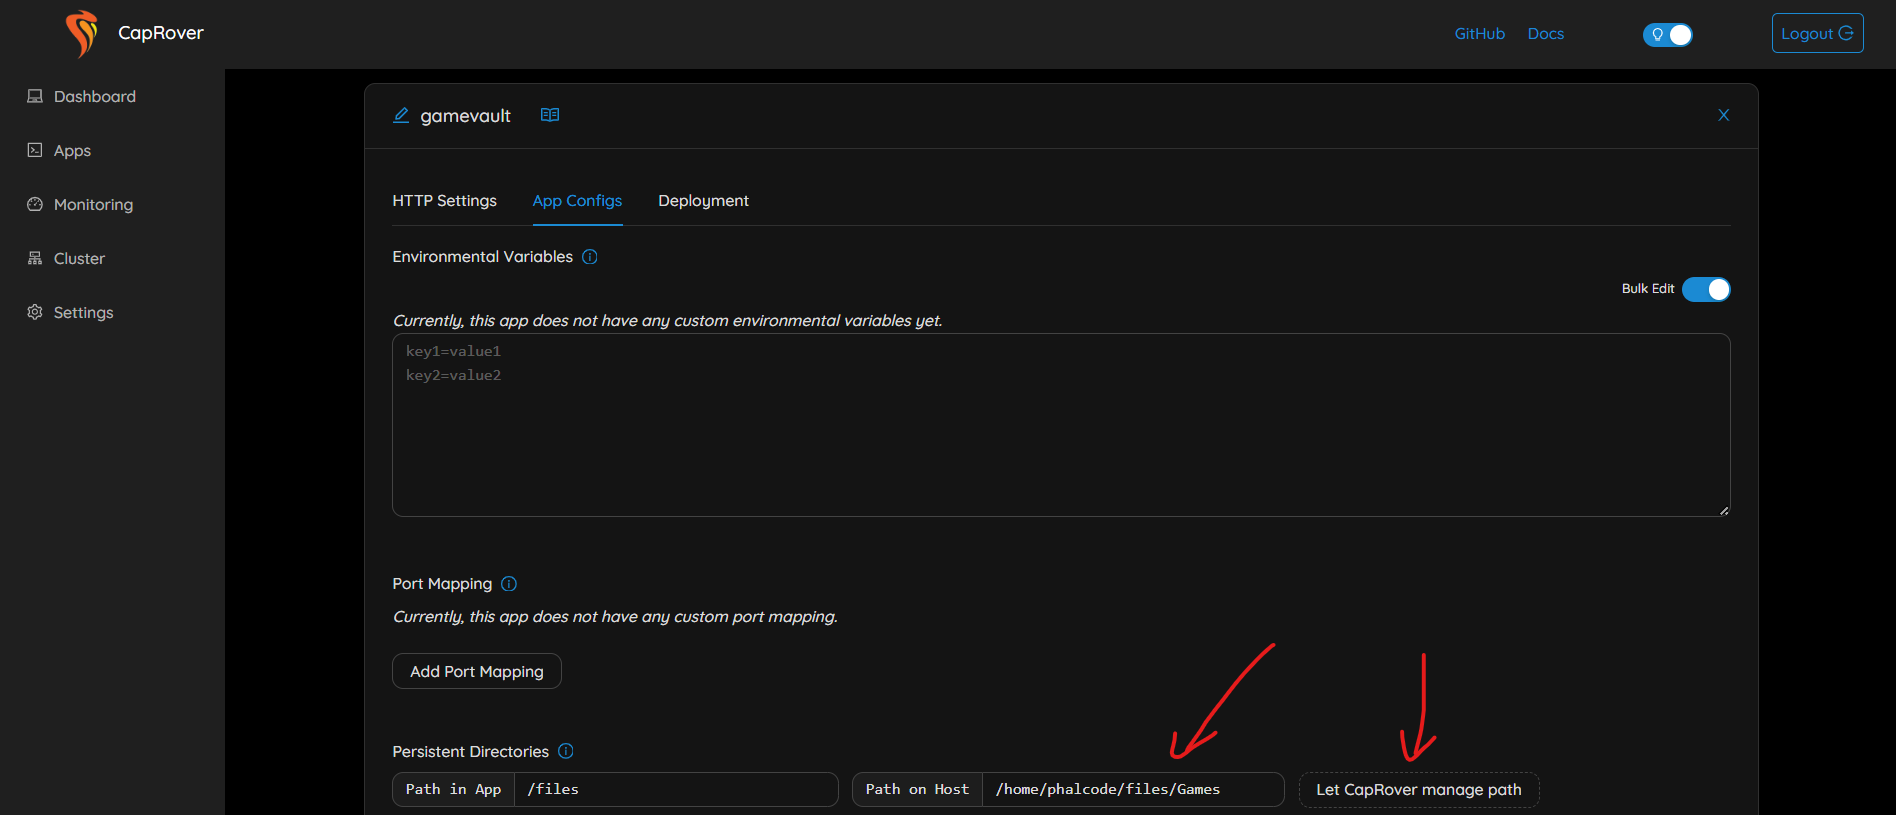
Step 6: Configuring Volumes
Configure your mounted volumes as you like.
Conclusion
You have now successfully set up your GameVault Server using CapRover.
Additional Info
Stopping the Server
Navigate to "Apps" and select the GameVault App you have created.
Click on "App Configs".
Set "Instance Count" to 0.
Reading the Logs
Navigate to "Apps" and choose the GameVault App you have created.
Click on "Deployment".
You should now see the logs. If needed, click on "View App Logs" first.