Setting up a GameVault Client
If you want to use GameVault to download and install games on your computer, you need to follow these steps.
Installation
Recommended Installation Option
Requirement: Windows 10/11 operating system with Microsoft Store installed
To begin, install the GameVault application from the official Microsoft Store.
Experienced users can also simply run this command in PowerShell:
winget install gamevault
This process should be straightforward and will only take a few minutes. After installing, proceed to Initial Configuration.
Alternative Installation Options
If, for some reason, you prefer not to use the Microsoft Store or are using a different platform, there are several other methods available to install the GameVault Client Application.
Please not that any other method than installing it from the Microsoft Store is less supported and unrecommended and should only be used as a last resort. Also be aware that you will be responsible for managing updates manually!
Option 1: Obtain Pre-Built Artifacts from GitHub
Access the latest pre-built artifact here.
Your antivirus software or Windows Smartscreen may attempt to prevent you from running our pre-built application because it is a suspicious-looking binary compiled by an unfamiliar source. This is due to the lack of a code signing certificate for budget reasons. You can safely disregard this warning and proceed to run the app by selecting More Details and then choosing Run Anyway.
Option 2: Linux Installation
To run GameVault on Linux using Wine, follow this community-driven method.
Option 3: Self-Compiling on Windows
- Install Visual Studio IDE (2022 recommended).
- Install the ".NET Desktop Development" workload and ensure that .NET 8.0 is installed.
- Clone the
gamevault-appsource code. - Open Visual Studio and choose the
.slnfile. - Select
Releasefrom the dropdown menu. - Build > Build gamevault.
- Use the output files.
Option 4: Extracting from the .appxbundle
- Go to https://store.rg-adguard.net.
- Paste
https://www.microsoft.com/store/apps/9PCKDV76GL75into the search box. - Download the current
.appxbundle. - Extract the
.appxbundle, followed by theReleasePackage_[VERSION]_x64.appxfile.
Initial Configuration
Once you have installed and launched GameVault, the first thing you will see is the login window.
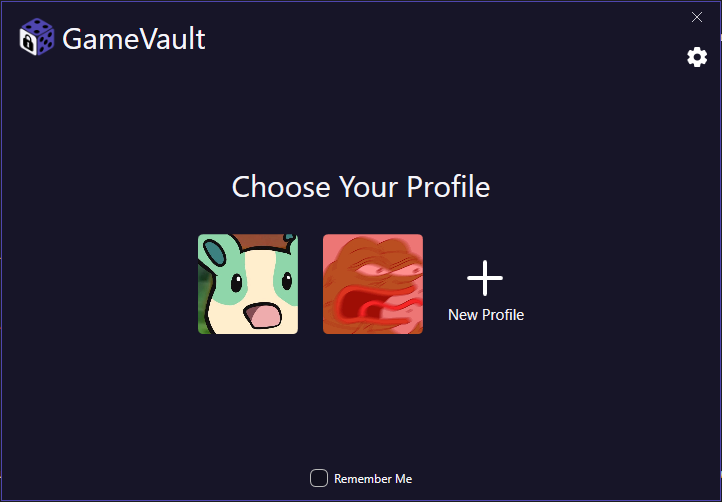
Here you can view your currently created profiles. You must create at least one to proceed.
GameVault supports the use of multiple profiles on the same client. This allows you to log in with different user accounts on different servers using a single device. However, this feature is only available with a GameVault+ subscription.
If you do not have any profiles or a running GameVault Server, a demo profile will appear in the list. You can use this profile to test the client. This profile will be removed as soon as you create at least one profile of your own.
To manually add the demo user profile:
Server URL: demo.gamevau.lt
Username: demo
Password: demodemo
Method 1: Sign In with an Existing User Account
Click on "New Profile" -> "Sign In".
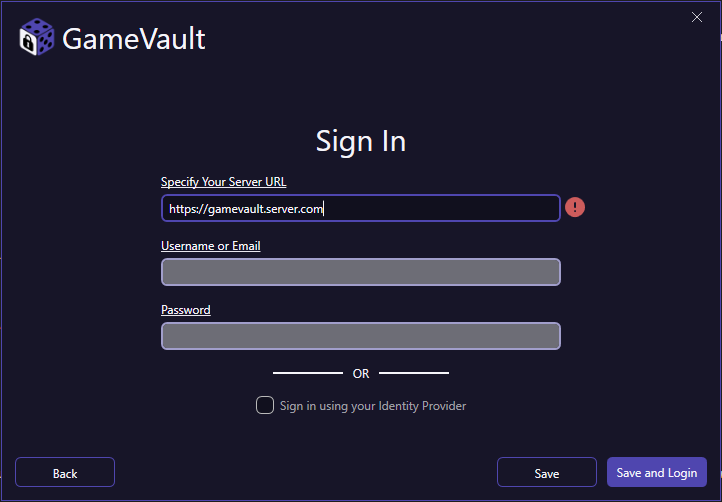
First enter your server URL, then your username and password. If you want to sign in using SSO, check the box "Sign in using your Identity Provider" at the bottom.
See more details about Server Input Validation (if input boxes are grayed out and you don't know why).
See more details about SSO Login if you want to log in using an identity provider (or don't know why fields are grayed out after checking the box).
If you press the "Save" button, a new profile will be created and you will be returned to the profile overview.
If you press the "Save and Login" button, GameVault will create the profile and immediately attempt to launch it.
Method 2: Sign Up by Creating a New User Account
Click on "New Profile" -> "Sign Up".
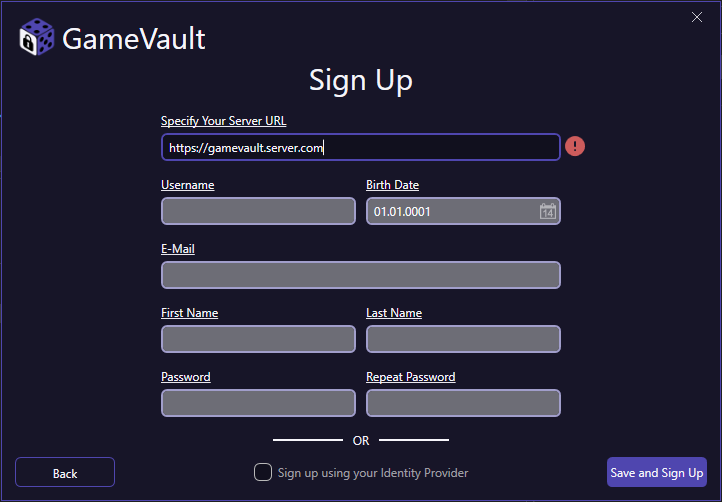
First enter your server URL, then fill out the remaining fields.
See more details about Server Input Validation (if input boxes are grayed out and you don't know why).
See more details about SSO Login if you want to log in using an identity provider (or don't know why fields are grayed out after checking the box).
What happens after clicking "Save and Sign Up" depends on the server configuration:
- A: The new user is activated immediately upon signing up, and you will be logged in.
- B: The new user must first be activated by an administrator. In that case, the following UI is shown:
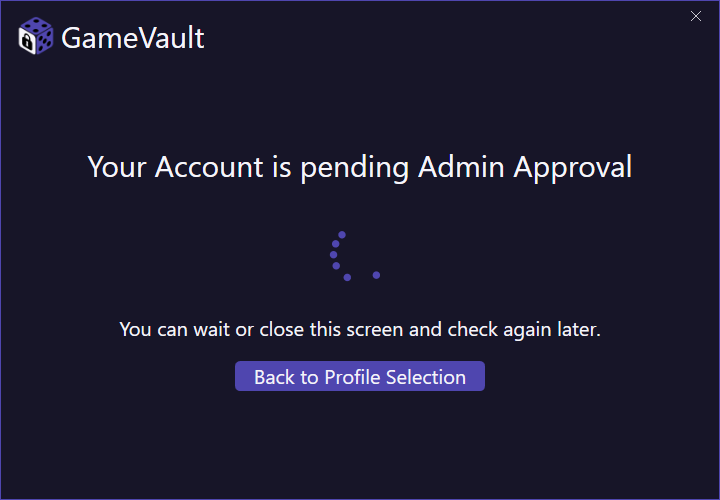
You can either return to the profile selection or wait until an admin activates your account. Once activated, you will be logged in automatically.
Server Input Validation
Both Sign In and Sign Up include built-in input validation for the server URL. The client checks whether the server is accessible. In addition, some fields may be required by the server configuration, or SSO may be enforced. These requirements will be reflected in the input validation.
A valid GameVault server address will be marked with a green check mark. If the URL cannot be reached or other problems occur, a red error symbol appears. Hover over it for more detailed error information.
SSO Login
When using SSO, you authenticate via the identity provider configured on the server, such as Google, Microsoft, or GitHub, instead of using a username and password. On your first login or after session expiration, a webview popup opens to redirect you to the provider’s authentication page.
After checking "Sign in using your Identity Provider" in the Sign In or Sign Up dialogs, all fields except the server URL will be grayed out. This is because GameVault retrieves all necessary information from the identity provider.
Additional Request Headers
Click the gear icon in the top right corner of the login window to access the login settings.
There you can configure additional request headers.
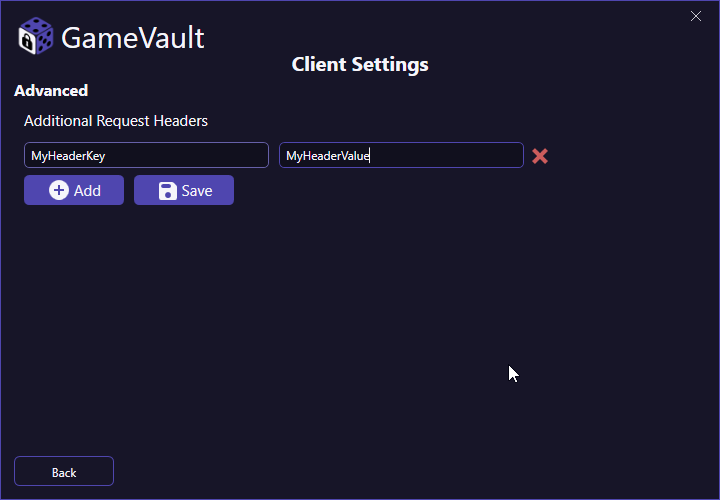
Click the "Add" button to create a new request header (key/value pair). Enter your data and press "Save". Remove a header by clicking the red cross icon next to it.
These headers are sent with every web request from the client and are useful if your server has special connection requirements.
Select the Root Directories
The final required step to properly use the GameVault client is selecting the root directories.
These are the locations where your downloaded and installed games will be stored. They act as base folders for your game library. We recommend reading the "How to Use" chapter for more details on root folder management.
Navigate to: Settings → Data → File System → Root Directories
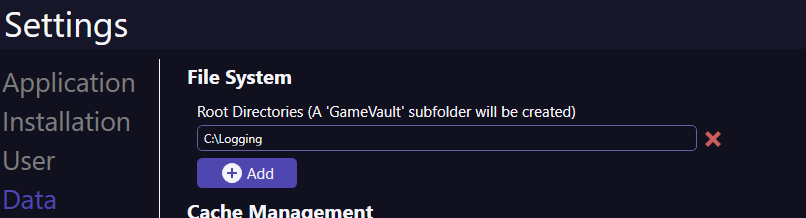
Click "Add" and select your desired path in the file dialog. Repeat to add multiple root directories.
GameVault will automatically create a subfolder named GameVault in each selected directory and initialize it with the required data.
Conclusion
Congratulations! You have successfully installed and configured GameVault. You are now ready to explore and enjoy the features and functionality of the app.
If you have further questions or need help, refer to the remaining chapters of this documentation or contact our support team.
We especially recommend reading the "How to Use" chapter to better understand how GameVault works.